How to Draw Fall Leaves
Learn a simple pointed leaf and a maple-inspired leaf. Draw the center first, then build the outline and veins around it.
No special drawing tools needed. Go slowly and adjust the lines as you learn.
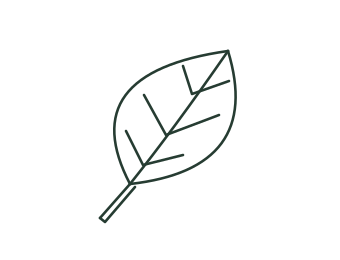
A simple pointed leaf
Begin with a center vein and draw two curved edges around it.

1. Start with a stem
Draw a short slanted stem near the bottom of your paper.
Check: The stem leaves room for a leaf above it.

2. Draw the center vein
Continue the line gently upward and to the right.
Check: Make this line light so you can adjust the outline.
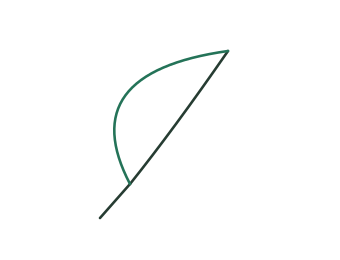
3. Curve around the left
Start at the base. Bow out to the left, then curve back to the pointed tip.
Check: The curve ends at the top of the center vein.
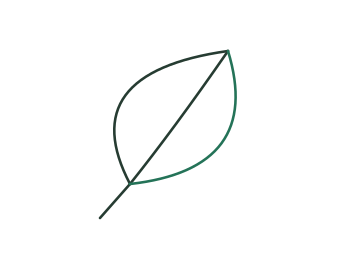
4. Close the right edge
Curve from the tip back down to the base.
Check: The two edges meet at both ends.
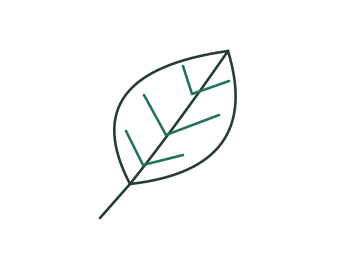
5. Add side veins
Draw pairs of short lines from the center vein toward the edges.
Check: Leave each side vein inside the leaf.
6. Finish the stem
Draw a second short line beside the stem and join the ends. Trace the outline.
Check: You have a clear leaf shape with spaces to color.
A maple-inspired leaf
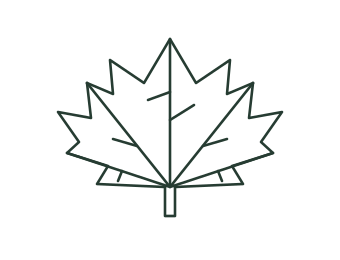
Build a decorative lobed leaf around a simple fan of veins.

1. Place the stem
Draw two short lines for the stem, joined at the bottom.
Check: Keep the stem near the center.
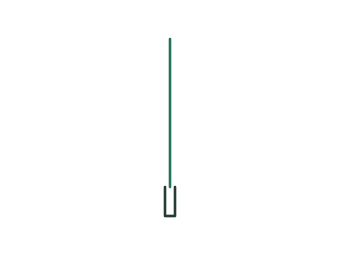
2. Draw the main vein
Extend a line from the top of the stem toward a pointed tip.
Check: This line gives the leaf its height.
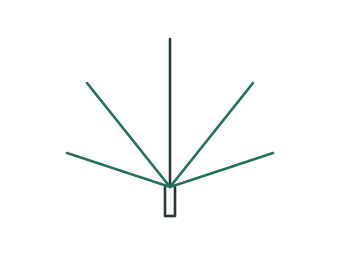
3. Fan out the veins
Add two upward-slanting veins and two shorter, lower veins.
Check: The veins all meet at the top of the stem.
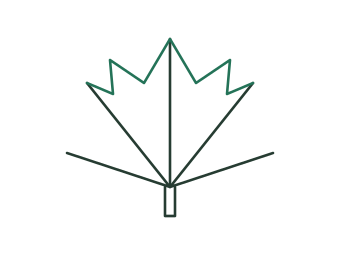
4. Outline the top lobes
Draw a pointed top lobe. Add a lower point to its left and right, following the picture.
Check: Make a dip between each pair of points.
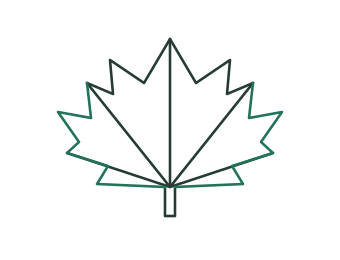
5. Join the lower edges
Continue around the outer edges and back toward the stem.
Check: The outline makes one closed leaf shape.
6. Add a few smaller veins
Add short branches inside the larger lobes. Trace the shape and color it.
Check: Use this as a drawing exercise; real maple leaves vary in shape.
Try it on paper
The practice PDF has one page for each drawing method: a finished example, a light tracing guide and space to try it yourself. Print at actual size.
If your drawing looks different
The veins run outside the leaf.
Draw the outer edge first, then shorten the small veins so they stay inside. Veins connect to the main vein.
The maple shape is hard to follow.
Try the simple pointed leaf first. For the maple-inspired version, lightly mark the five outer points before connecting them.