How to Draw a Butterfly
Try two butterfly drawings: a rounded butterfly with matching shapes, or pointed wings with a simple vein pattern.
No special drawing tools needed. Go slowly and adjust the lines as you learn.
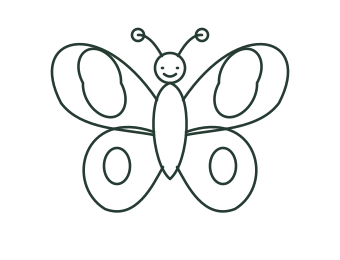
A rounded butterfly
Start with the body, then add one pair of wings at a time.
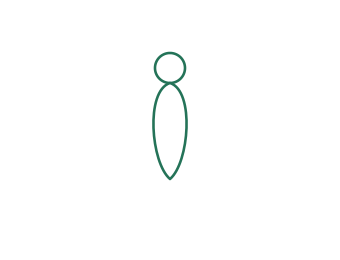
1. Draw the body
Draw a small oval for the head. Add a long, narrow oval just below it.
Check: The two ovals touch. Leave room on both sides for wings.
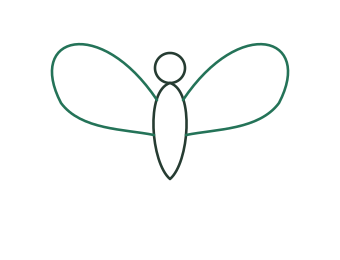
2. Add the upper wings
From each side of the body, curve up and out. Bring each line back to the middle of the body.
Check: The wings attach to the body and have a rounded outer edge.
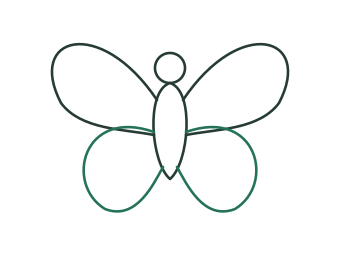
3. Add the lower wings
Curve down from the middle of each wing. Loop back to the bottom of the body.
Check: You now have four wing sections.
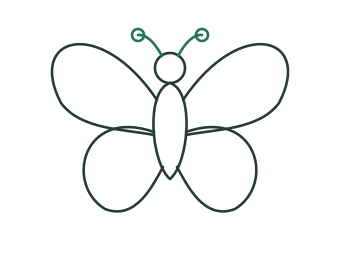
4. Draw two antennae
Draw two short curved lines from the top of the head. Put a small circle at each end.
Check: The antennae point away from each other.
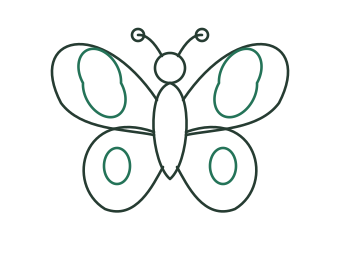
5. Make a matching pattern
Add a large oval in each upper wing and a small oval in each lower wing.
Check: Try to place each pair in similar positions. They do not have to be perfect.
6. Add your own details
Add two eyes. Trace the lines you want to keep, then choose colors for the matching wing shapes.
Check: The wings still have open spaces for color.
A pointed-wing butterfly
Use a tall upper wing and a smaller lower wing, then add simple wing veins.
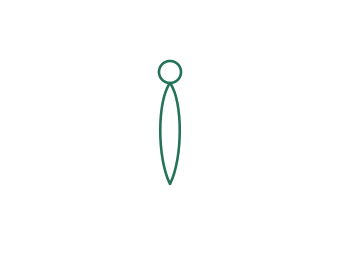
1. Mark the center
Draw a small head and a narrow body down the center of your paper.
Check: Keep plenty of space to the left and right.
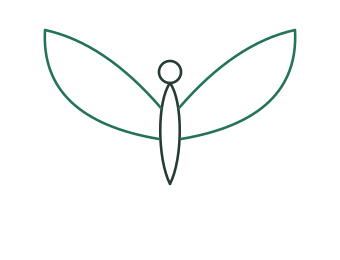
2. Shape the upper wings
Draw a rising curve from the body to a point. Round the outside as you return to the body. Repeat on the other side.
Check: Both wing tips are above the head.
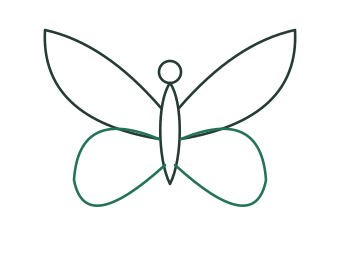
3. Round the lower wings
Make a smaller rounded wing below each upper wing.
Check: Each lower wing joins the body.
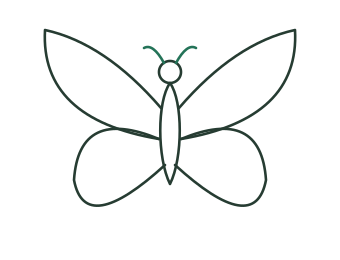
4. Add antennae
Curve two short antennae up from the head.
Check: The antennae are separate from the wing outlines.
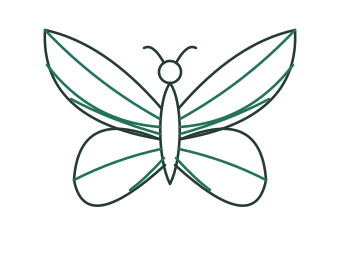
5. Divide the wings
Draw three gently curving lines inside each upper wing. Add two lines to each lower wing.
Check: Stop each line at the outer wing edge.
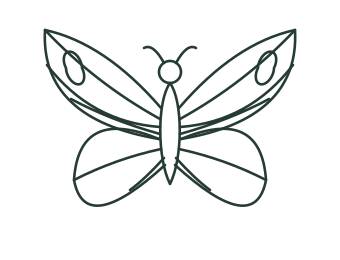
6. Finish the pattern
Add a small oval near each upper wing tip. Use the sections as separate coloring spaces.
Check: This is a decorative butterfly, not an identification drawing of a particular species.
Try it on paper
The practice PDF has one page for each drawing method: a finished example, a light tracing guide and space to try it yourself. Print at actual size.
If your drawing looks different
One wing is much bigger.
Mark the outer tip on each side before drawing the curves. Turn the paper over and hold it to a window to compare the shapes.
The pattern feels crowded.
Use just one large shape in each wing. You can add more after coloring the large areas.