How to Draw a Cake
Draw a birthday cake in eight small steps, from the first oval to frosting, candles and sprinkles.
No special drawing tools needed. Go slowly and adjust the lines as you learn.
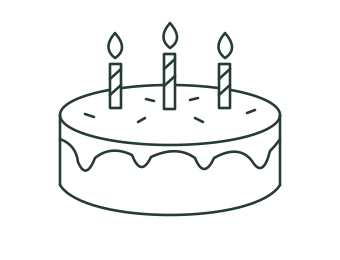
A birthday cake
Build one cake from an oval, then add frosting and three candles.

1. Draw the top
Draw a wide oval near the middle of your paper.
Check: An oval that is wider than it is tall makes room for candles.
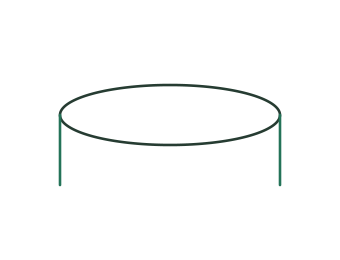
2. Add the sides
Draw a short vertical line down from each end of the oval.
Check: Both sides end at the same height.
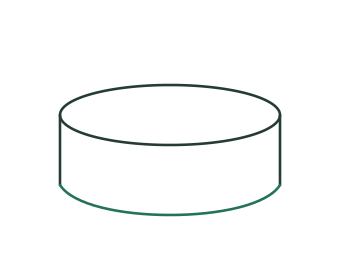
3. Join the bottom
Join the bottom of the sides with a curved line.
Check: The bottom curve follows the shape of the front of the top oval.
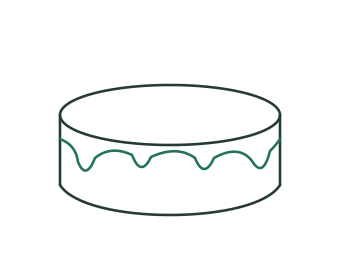
4. Let the frosting drip
Draw a wavy line across the front of the cake, just below the top.
Check: Keep the frosting line between the two side edges.
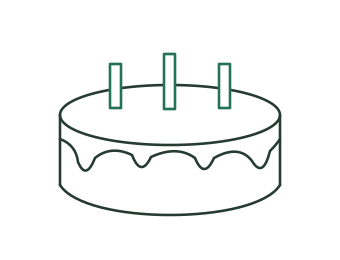
5. Place three candles
Draw three narrow rectangles above the top of the cake. Keep the bottom of each candle inside the oval.
Check: There are three separate candles with space between them.
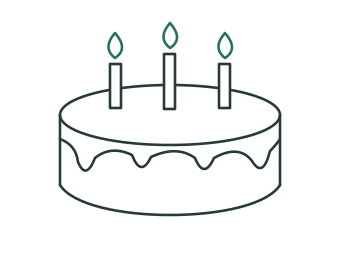
6. Add the flames
Put a small teardrop shape above each candle.
Check: Leave a little gap between each flame and its candle.
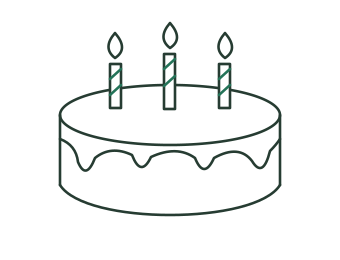
7. Decorate the candles
Add small diagonal stripes inside each candle.
Check: The stripe ends stop at the candle edges.
8. Finish the cake
Add a few sprinkles on the cake top. Trace your drawing and choose your frosting colors.
Check: Keep the sprinkles away from the candle outlines.
Try it on paper
The practice PDF has one page for each drawing method: a finished example, a light tracing guide and space to try it yourself. Print at actual size.
If your drawing looks different
The cake looks tilted.
Check that both side lines end at the same height. The top oval and bottom curve should face the same direction.
The candle stripes go outside.
Draw each stripe lightly, stopping at the rectangle edges. Erase any extra line before adding color.